Hardware setup
Always begin by getting familiar with the Developer's Kit you are using. The Getting started guide is a good starting point.
Onboard SoM configuration
For SoMs that include an onboard DX-M1 module, no special hardware configuration is required. The default hardware setup, as documented in the Getting started guide, should be used.
M.2 module installation
The DX-M1 M.2 module must be installed into an M-Key connector. Go to the section below for the board you are using for more details.
- SOM Carrier Board
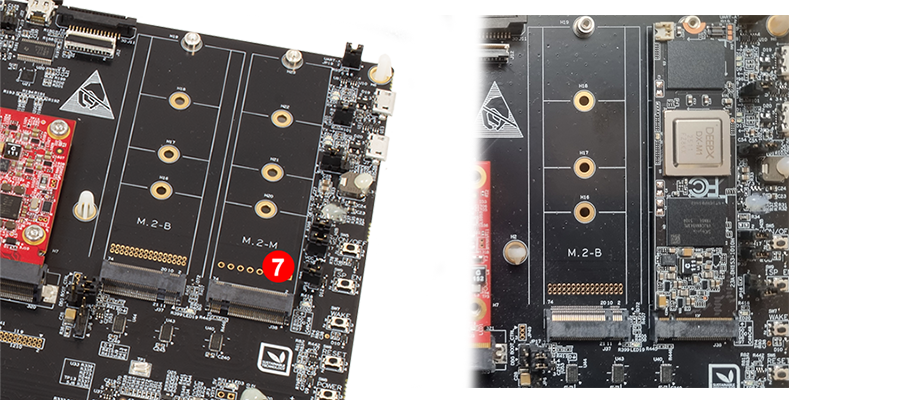
On the SOM Carrier Board, install the DEEPX DX-M1 M.2 accelerator module into the M.2 M-Key connector (J38). The J38 connector is located on the right edge of the carrier board, as shown in the figure below (marked with label 7).
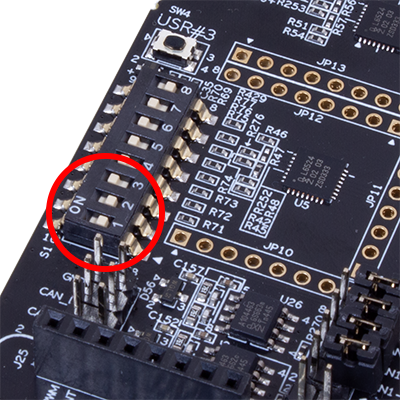
Slider Switch - PCIe to M-key connector
The PCIe interface can be routed to different connectors on the SOM carrier board. To connect the PCIe interface to the M.2 M-Key connector (J38), set positions 1 and 2 of the slider switch S1 to the OFF position (right). The switch configuration is shown in the figure below.
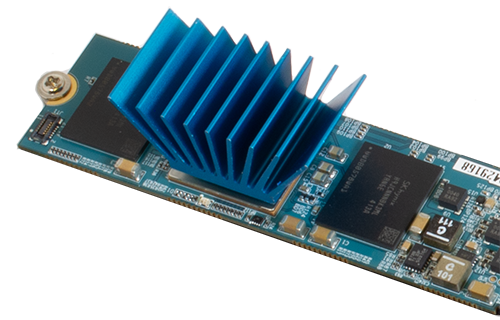
Thermal considerations
The DEEPX DX-M1 module has low power consumption, but it is still recommended to attach a heat-sink to the device to ensure adequate thermal management under sustained or heavy workloads.