Qbee
Introduction
The device management platform qbee.io is described as a "Complete lifecycle management solution for IoT". It can handle over-the-air updates, remote control and device monitoring for embedded Linux devices.
Getting started
A Yocto layer, meta-qbee, is provided by qbee.io to easily and quickly add qbee support to a Yocto distribution.
Prerequisite
Before continuing with the instructions in this chapter you must have done the following.
- Configured your host to build Yocto by following the instructions provided in the Linux Host Setup section.
- Initialized a build directory as described in Initialize Build.
- Registered for a free qbee account by visiting the registration page and filling out the form.
Support for qbee was first tested on an ea-6.1.36 distribution (mickledore).
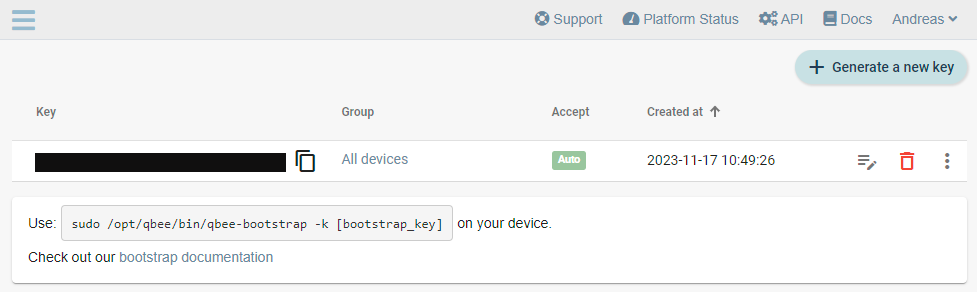
Retrieve bootstrap key
Retrieve your qbee bootstrap key which is needed when updating conf/local.conf.
- Login to your qbee account.
- Click on your profile name and then Bootstrap keys as shown in the figure below.

- Copy the bootstrap key (obfuscated in the figure below).
Add the qbee Yocto layer
Go to the sources directory for your build (called ea-bsp below).
cd ea-bsp/sources/
Clone meta-qbee.
git clone https://github.com/qbee-io/meta-qbee.git
Add the new layer to the end of ea-bsp/conf/bblayers.conf.
BBLAYERS += " ${BSPDIR}/sources/meta-qbee/meta-qbee "
Update local.conf and build image
Update ea-bsp/conf/local.conf with the following. Replace <bootstrap_key> with the key you copied in the retrieve bootstrap key section above.
QBEE_DEVICE_NAME_TYPE="mac-address" means that the device identifier will be the MAC address of the device. QBEE_DEVICE_NAME_TYPE can also be set to machine-id in which case /etc/machine-id will be used as identifier. Omitting QBEE_DEVICE_NAME_TYPE, the device will be identified by using the device hostname.
QBEE_BOOTSTRAP_KEY="<bootstrap_key>"
QBEE_DEVICE_NAME_TYPE="mac-address"
Now you can build a new image with qbee support.
bitbake ea-image-base
The Universal Update Utility - UUU - is used to deploy an image to a target. Detailed instructions of how to deploy an image is available in the Yocto - Deploy Images section.
Device management UI
When the new image has been deployed to a board and the board has booted, the qbee agent will connect with the qbee device management servers. If you go to the Devices tab, in the UI, you should after a short while see the device being registered, just like shown in the figure below.
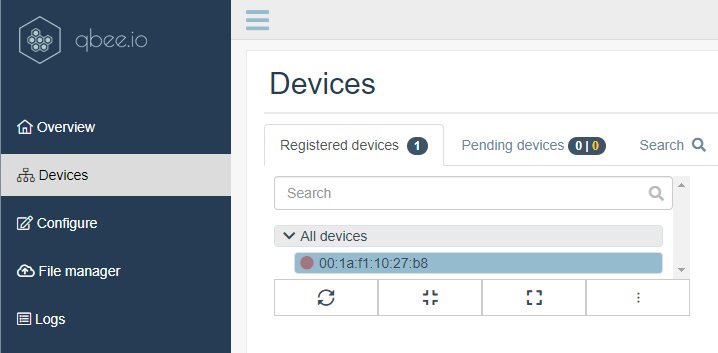
Click on the registered device, and you will get more information about the device and will be able to interact with it.
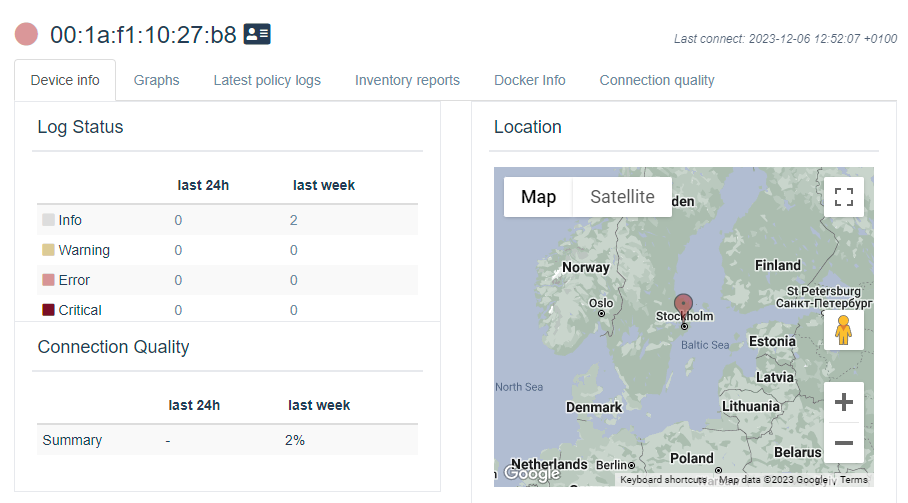
The remaining parts of this chapter will list a number of functions in the UI and provide links to the official qbee documentation.
| Function | Description |
|---|---|
| Dashboard | The dashboard is where you will get an overview of your devices, reports, logs and resource issues. |
| Remote console | It is possible to establish a secure shell connection with a device. |
| Metric report | Remote devices can be monitored and a collection of metrics, such as CPU load, memory and disk usage, is gathered. |
| CVE vulnerability | An inventory of installed libraries is gathered by the qbee agent and this inventory is checked against the NIST vulnerability database, allowing you to quickly determine if your devices are affected by critical vulnerabilities. |
| Application and library updates | qbee allows for different ways of keeping the device up-to-date with update management. |
Remote update using RAUC
Via the qbee file distribution function it is possible to do over-the-air (OTA) updates of a device. In this chapter we describe how you can use this in combination with RAUC.
Add RAUC support
The first step is to add RAUC support to your distribution. This is described in the RAUC - Getting started documentation.
Create an update bundle
The next step is to create an update bundle. This is described in the RAUC - Create an update bundle documentation.
File manager
In the qbee device management UI, go to the file manager tab as shown in the figure below. The folders RAUC / bundles have previously been created in the file manager. They don't exist by default.
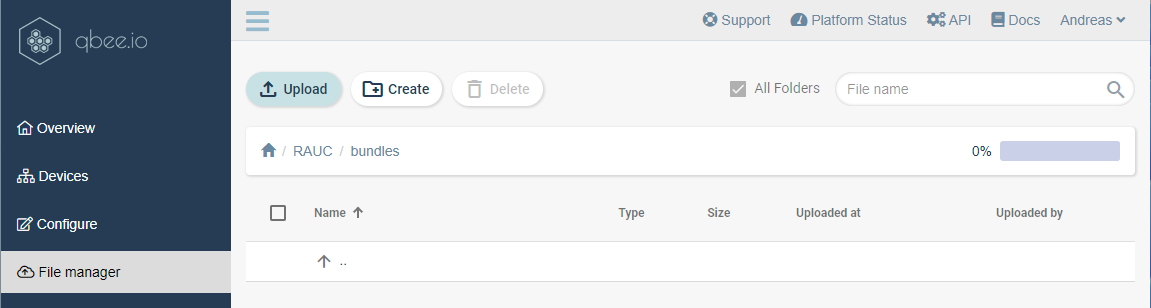
Click on the Upload button and navigate to your update bundle and start to upload the file.
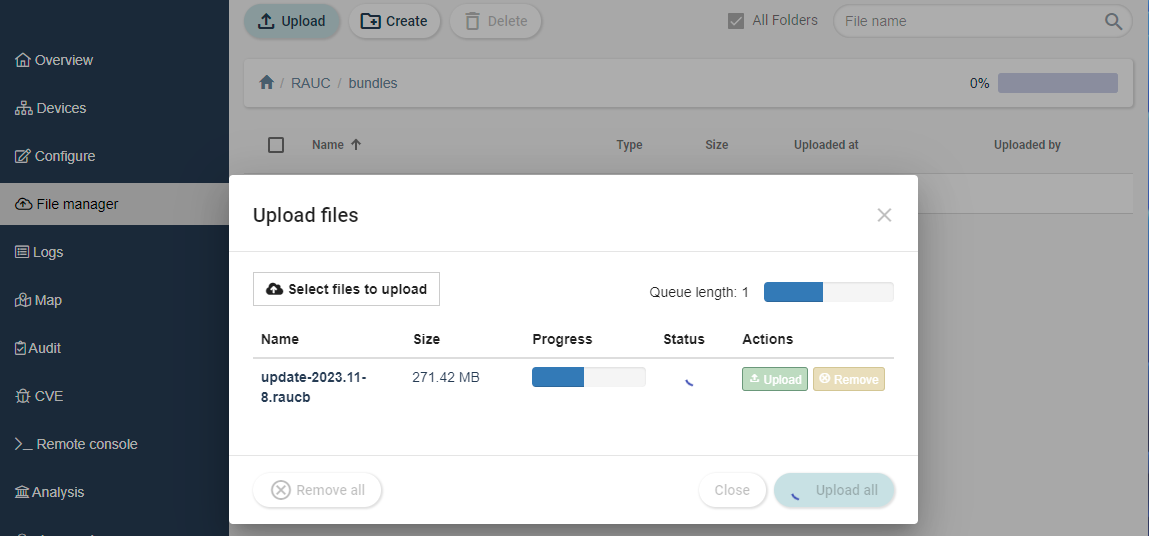
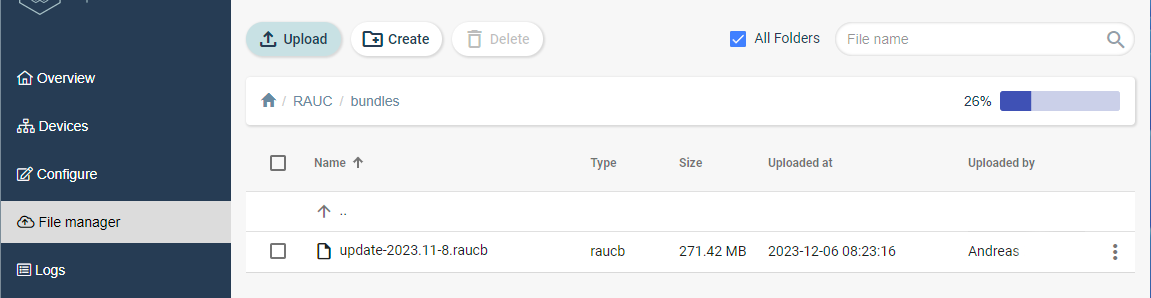
When uploaded it will look as in the figure below.
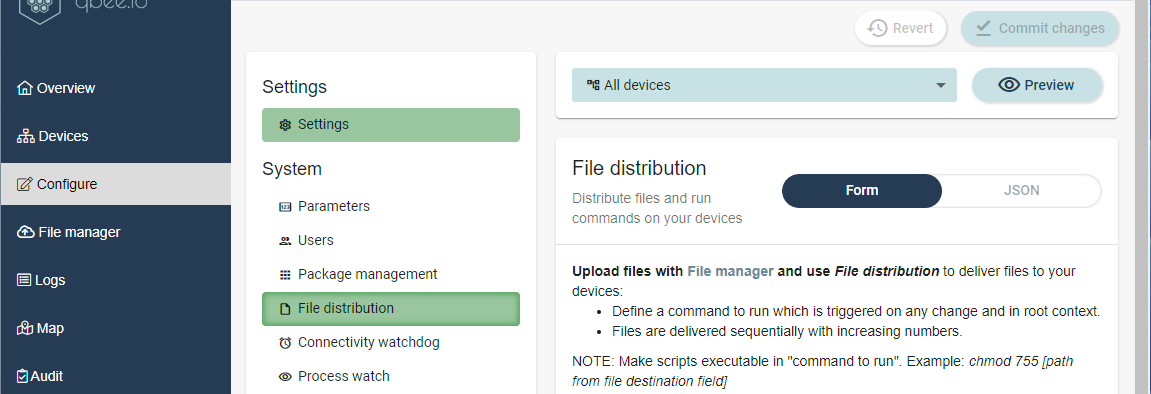
Configure a file distribution
In the qbee device management UI, go to the Configure tab and then click File distribution as shown in the figure below.
Click on the plus (+) button to create a new file set as shown in the figure below.
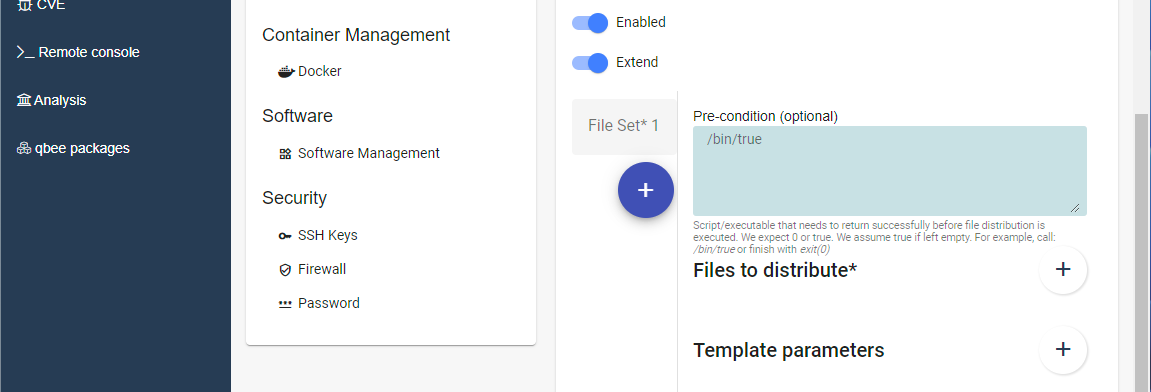
Click the plus (+) button to the right of Files to distribute and select the uploaded update bundle. In the File destination field enter the destination path on the target where the file will be uploaded.
The file destination must be a path to a persistent partition that will not be removed or modified during an update. If the file is removed or changed, the qbee agent will be triggered to download the file again, see the qbee documentation for details.
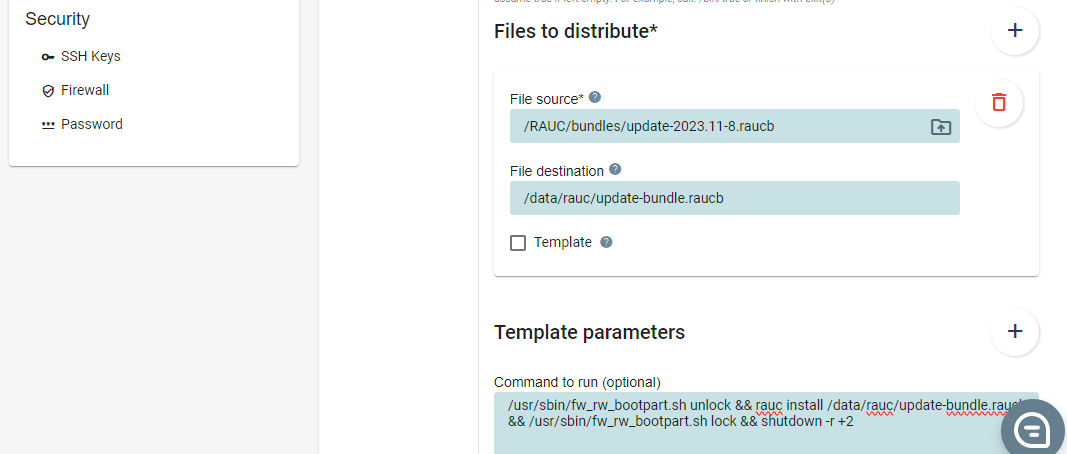
When the file has been downloaded to the target a number of commands must be run in order to install the update. In the field Command to run enter the commands below. Each command is separated with double-ampersand (&&).
- The first command will make the eMMC boot area writable.
- The second command will install the update bundle.
- The last command will ask the device to do a reboot after 2 minutes.
/usr/sbin/fw_rw_bootpart.sh unlock && rauc install /data/rauc/update-bundle.raucb && /usr/sbin/fw_rw_bootpart.sh lock && shutdown -r +2
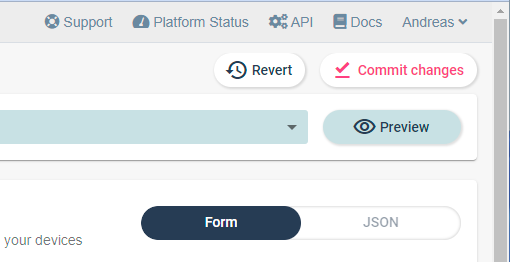
Click the Save settings button and then finish by clicking the Commit changes button at the top right part of the window, see the figure below. The file distribution and update process will only commence once you click on Commit changes. See OTA updates with RAUC in the official documentation for more information.